ENDINGS
ENDINGS FOR SPORTFLEX PUZZLE

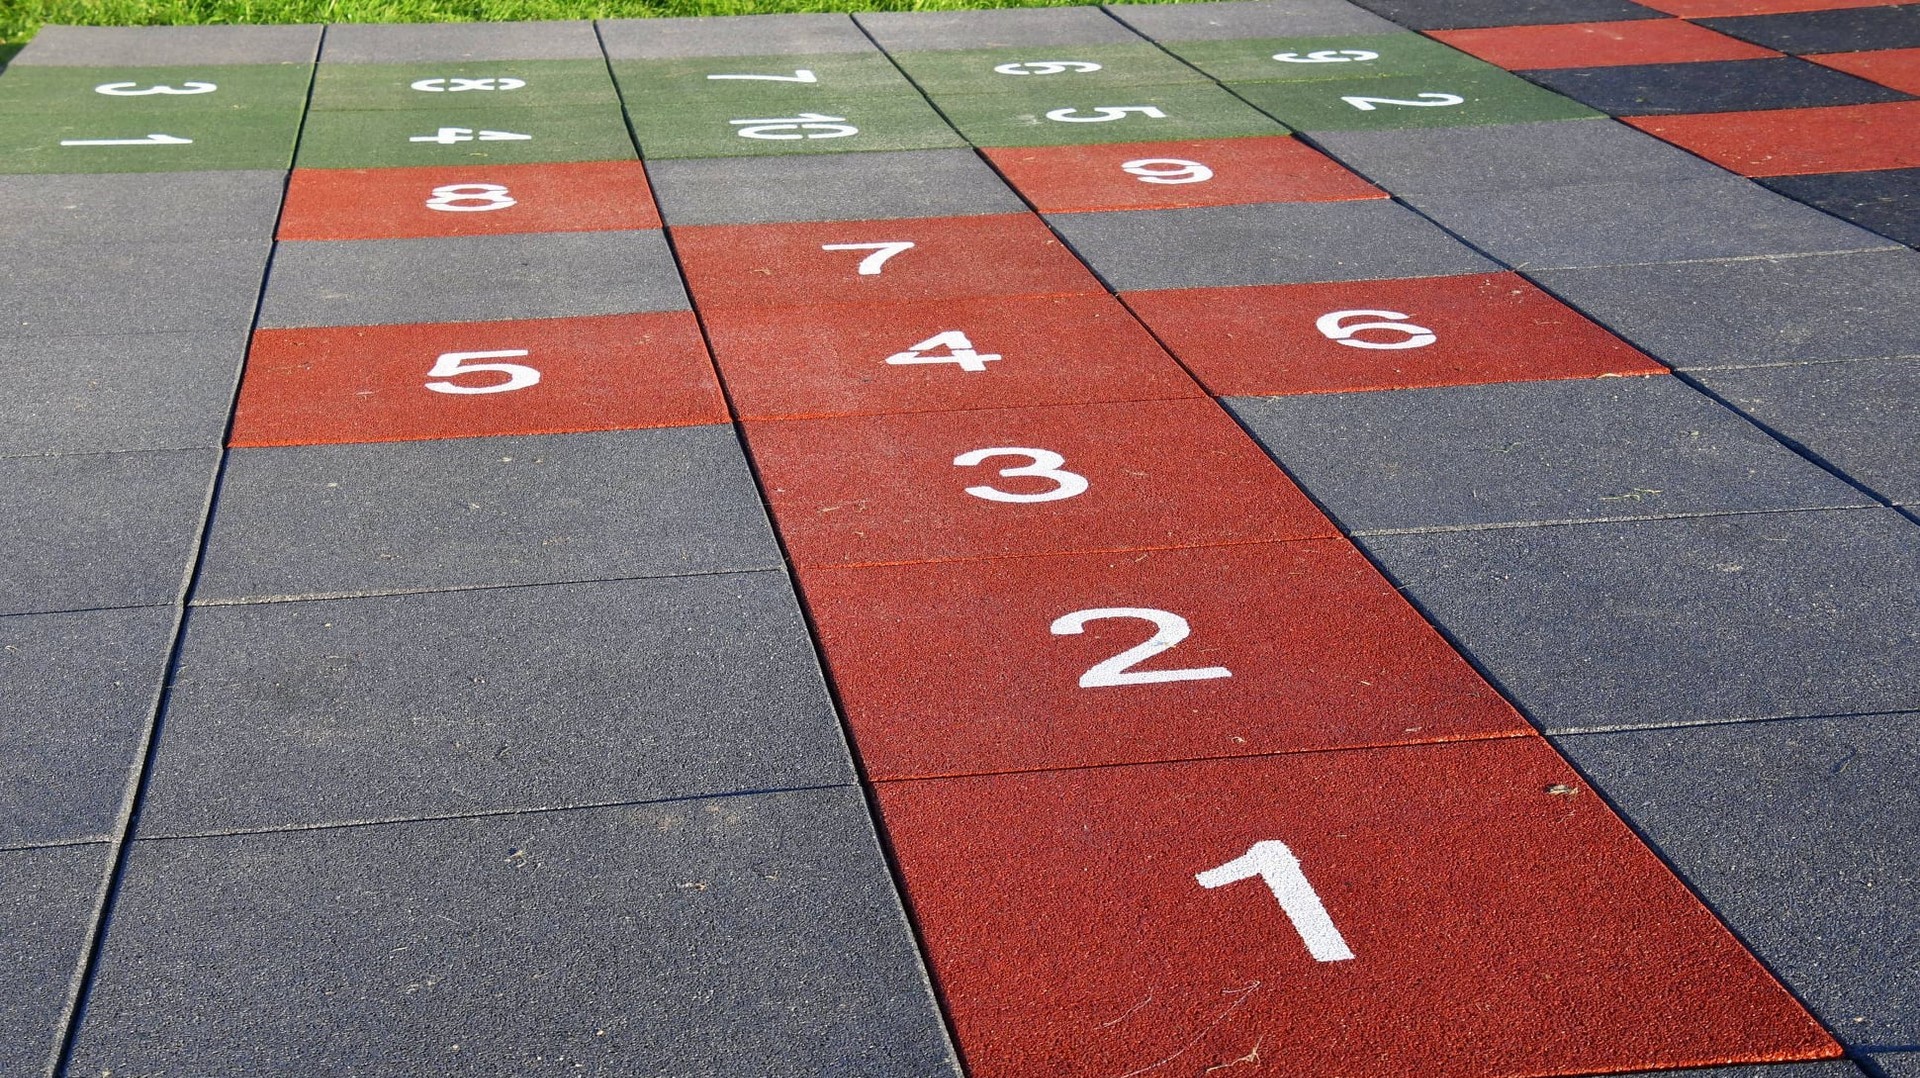
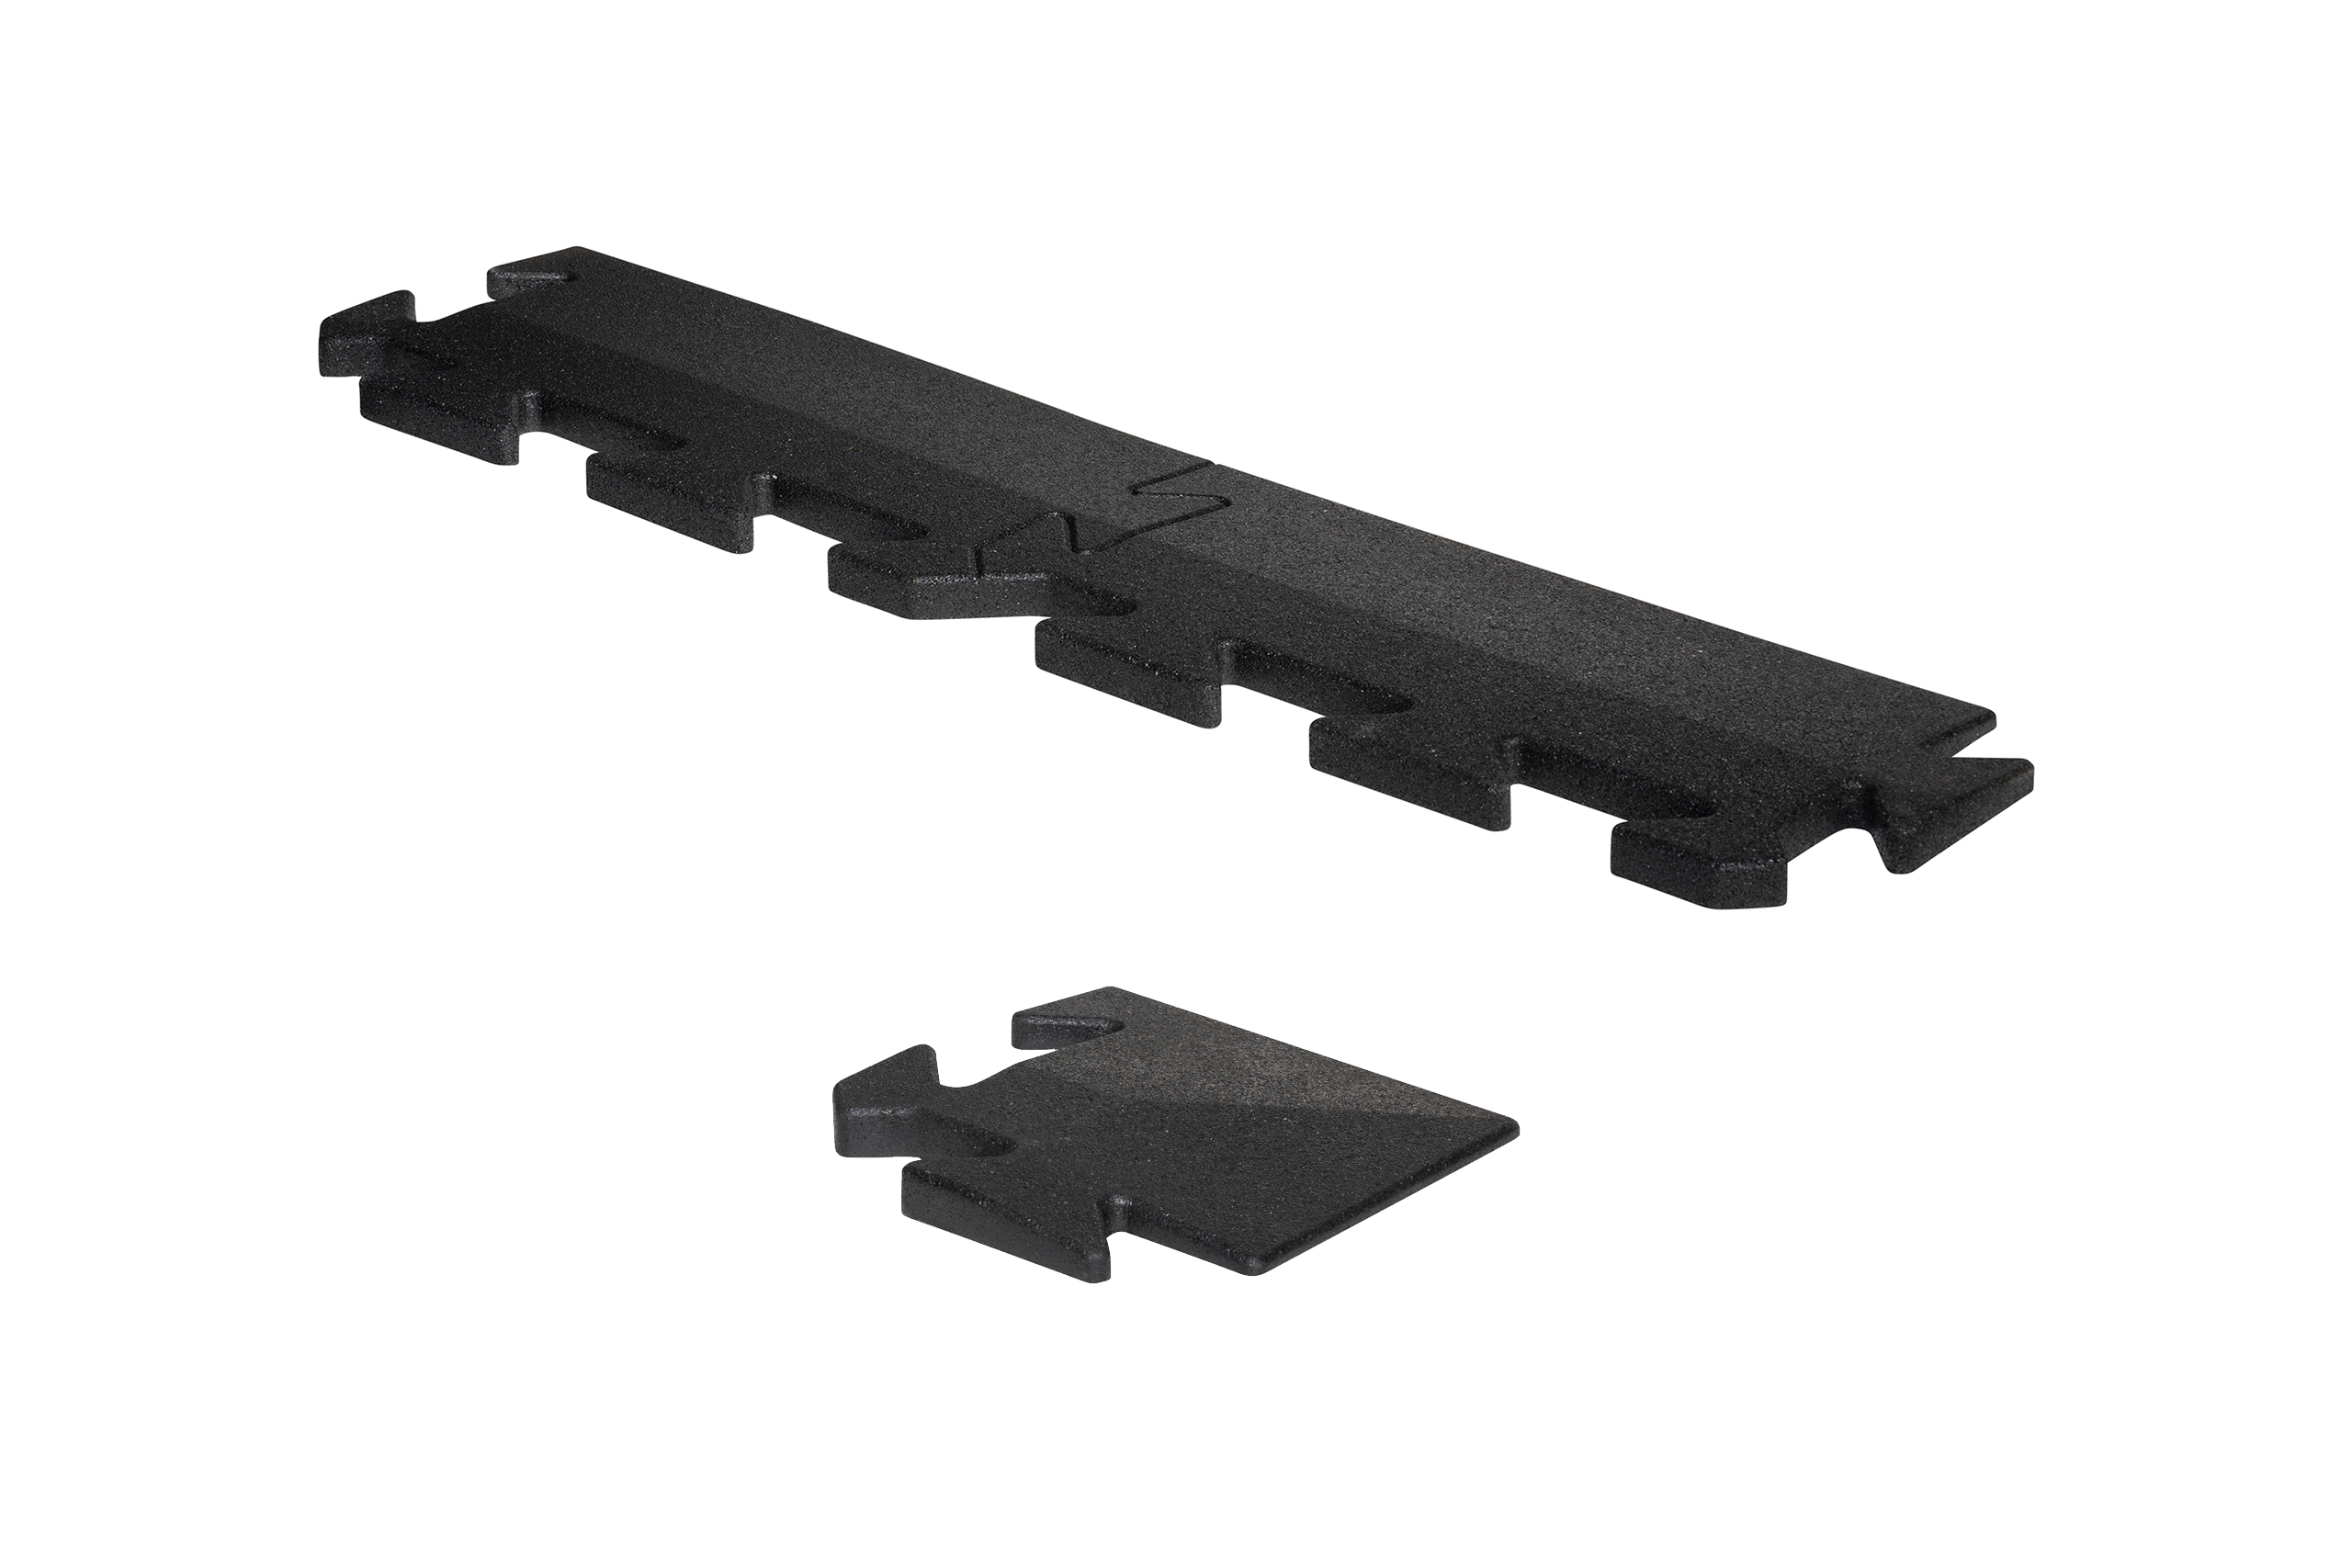
Rubber caps for SPORTFLEX PUZZLE are a key element of safe surfaces. Mount them easily and conveniently. Where? Virtually everywhere, even on a sand base. Due to their exceptional flexibility, you can bend them at any angle and fit perfectly to the rubber tiles.
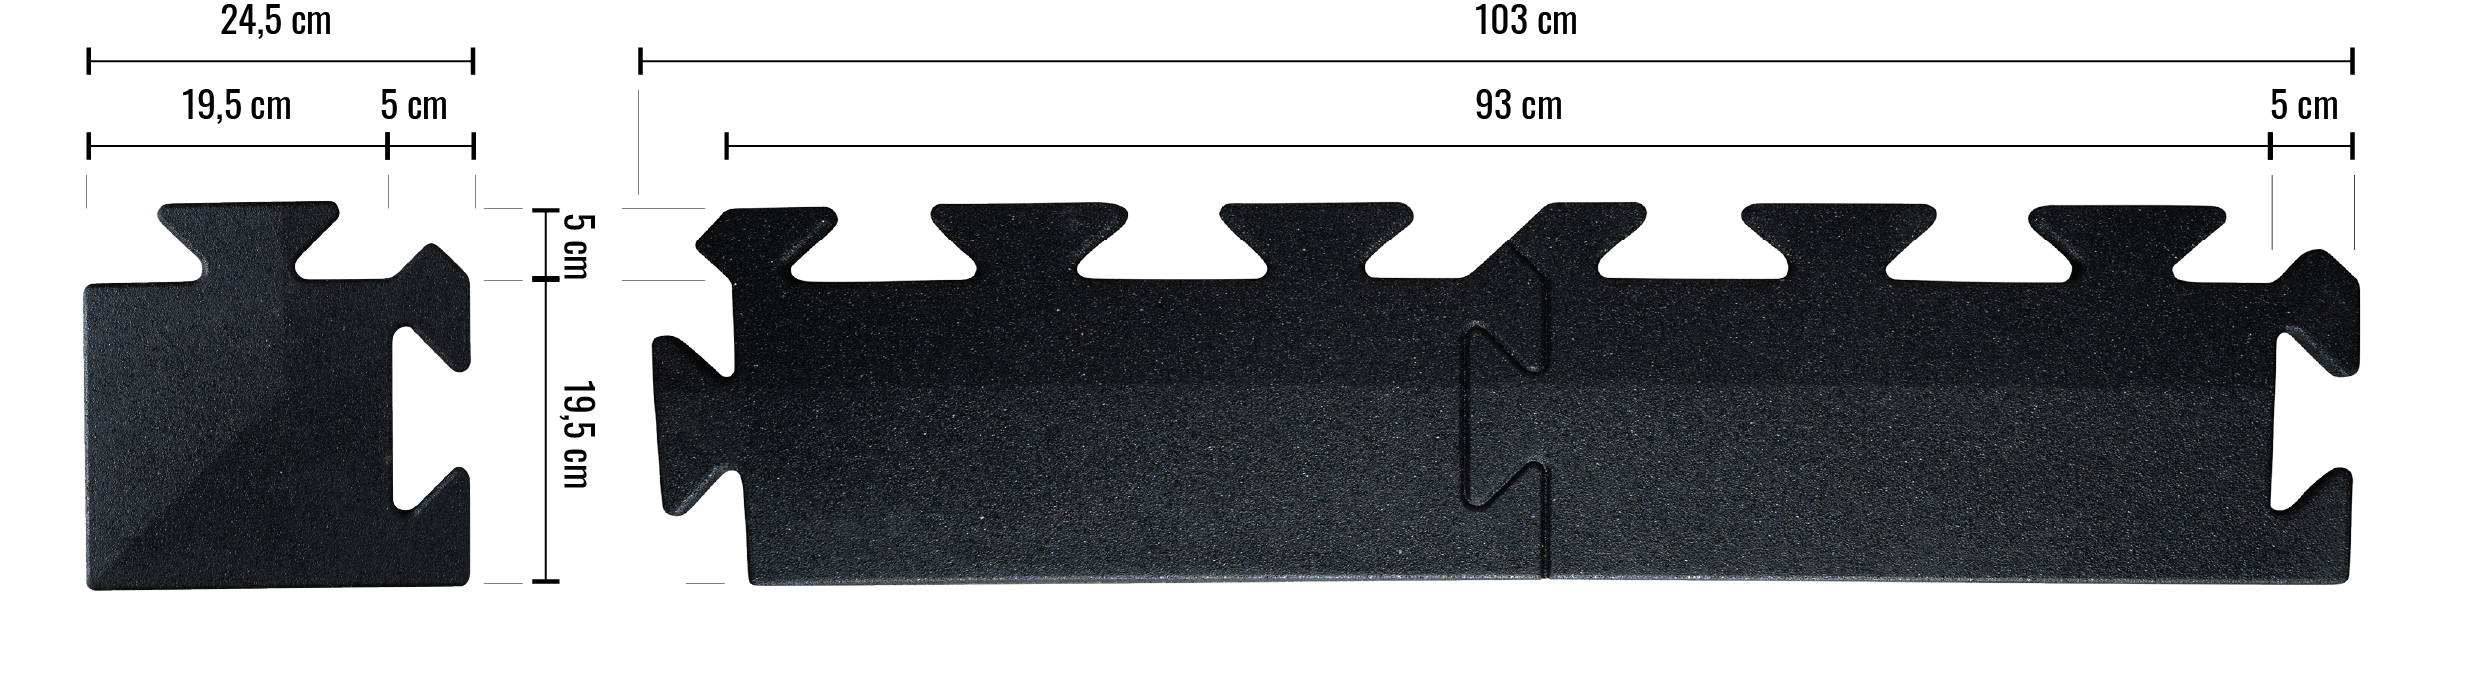
Dimensions: 103 x 24,5cm / 24,5 x 24,5cm
Thickness: 15/20/25/30mm
Colour: Black
Zakończenia / Abschlusselemente / Endings 36.81 MB
…DESCRIPTION
PRODUCT DESCRIPTION
- type: board / corner
- measurements: 103 x 24,5cm (board) / 24,5 x 24,5cm (corner)
- thickness: 15 / 20 / 25 / 30mm
- composition: cleaned SBR rubber granules and high-class polyurethane glue
- shape: 6-tab strip with a gentle slope, fastened with successive inserts
- structure: a uniform coating for a smooth entry onto the installed mats
- color: black (no color additives)
- installation: on a smooth surface, sticking a strip to increase adhesion
- operation: easy to clean, unfold and replace individual strips
- modifications: manual cutting of the structure with a knife and gradual deepening
- use: matching to all floors in our offer
- guarantee: 1 year
COLOUR
COLOURS OF PLATES
The rubber caps for the SPORTFLEX PUZZLE are available in black.
PROPERTIES
PROPERTIES
INSTALLATION
INSTALLATION METHODS
- The surface of rubber mats should be laid on a concrete foundation (on a self-leveling screed). Floors (panels, carpet) are also acceptable, provided the surface is even, hard and forms a uniform layer
- The substrate should be cleaned before laying (rubbish, crushed concrete, etc. must absolutely be removed completely before installing the panels)
- The mats should not be laid at temperatures above 25°C and below 5°C
- The mats have two sides – the top one (bevelled) and the bottom one (smooth)
- The individual mats are connected to each other in an adjacent or interleaved arrangement
- Start laying the mats from the wall itself and work towards the opposite side. The spreading of the first and second rows is very important to ensure accuracy and no gaps in subsequent rows of the installation
- Due to the firm fit of the individual edges, do not be discouraged by initial unevenness after laying – after a short time the whole structure will even out (granules / rubber is a material that adapts and changes its properties under the influence of temperature)
- Any cutting (at walls, pillars) is always done by the customer himself
- To cut the mats, use a sharp knife and make 2-3 deep cuts (the strip along which you cut may be helpful). In order to facilitate this process, a second strip can be placed under the cut mat (after the first cut) to bulge the mat and facilitate cutting
Detailed installation description can be found in the FITTING INSTRUCTIONS (download in PDF).
REALIZATIONS
EXAMPLES OF REALIZATIONS